Your first article
The basics
You have successfully created your first profile and now you want to publish your first content. Here are the step-by-step instructions.
First click on "YOUR NATION" in the upper right corner, then click on the 3 dots next to your profile name in the opened menu.
This will take you to the profile settings. There you will find the item "Create new article":
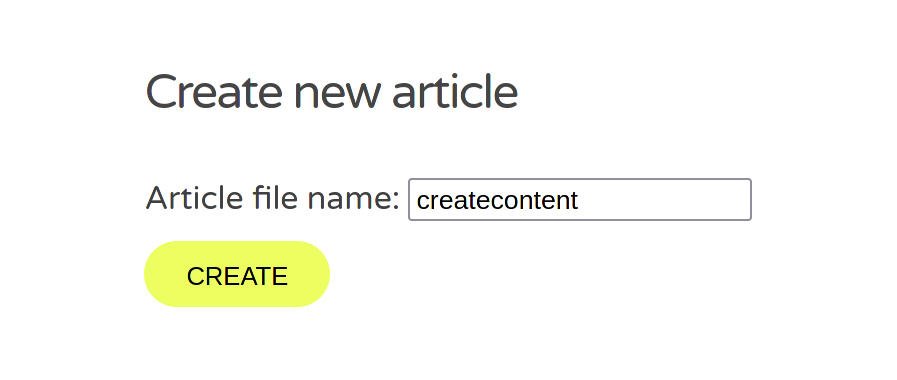
For the name, enter the file name, ideally short and all lowercase. Do not use spaces or special characters. Don't worry, the system will complain if something doesn't fit.
After clicking on "ADD" your new content should be displayed in the file list above. Then you can click on the edit icon there.
You will now land on a new, empty page. Click on the green "Edit article" icon in the upper right corner and you are ready to go.
Basically, all areas that are outlined with the dashed line can and should be adjusted.
These are from top to bottom:
Your article image
This is your image for this article/content. The ideal size is 1447x380 pixels, but the image will be cropped depending on where it is displayed. Your interesting part should be in the middle, in the area marked green. This part is visible in all image sizes.
If you click on the area, you can select your image. If you haven't uploaded an image yet, you have to do that, of course.
There are two ways to do this:
Drag&Drop from your file manager (Windows Explorer, Finder, Dolphin, Thunar, etc.) into the area and let go.
The file is then uploaded and if the virus scanner has nothing against it, your image appears.
Alternatively you can press the Upload Image button. Then a selection dialog of your browser appears. Choose the right file and confirm. Again, the file will appear in the list, if it is OK.
Your article title
This comes in the field directly below. This is the text that will be displayed everywhere as your title for the content. Don't make it too long, but also more than 2 or 3 letters.
Your name
Optionally you can enter your name in the field from: ... if you want to. This is useful e.g. if you have a guest post or you want your name everywhere. If the field is empty, the "from:" will not be displayed.
Your content
This is your most important field. This is where your content goes, don't be intimidated by the "small" placeholder, you have as much space as you want.
If you click into the area, the WYSIWYG (What you see is what you get) editor will be activated, there you can also set and format your text like in a writing program.
However, we advise you not to play around with the settings, but simply select predefined styles, e.g. headings, quotes, etc.
If you want to add images, you can do so by clicking on the image icon, a dialog will appear.
You can either fill in the source directly, but it is better to click on the icon next to it, which will bring up the image selection dialog from above.
This will also fill in all other fields. We recommend to select "Automatically resize" at the end of the dialog.
Then there will be no problems with mobile devices.
Suggest tags
When you are done with your text, you can click on "SUGGEST TAGS" at the bottom, you will get suggestions based on your text from our algorithm. You can also enter a tag directly in the field above. You will also get suggestions there as you type.
Save
You can exit the editor at any time by clicking in the area outside the dashed frame.
If you have changed content, the area in the upper right corner will change and you can save. You can save at any time,
which you should do. Nothing is more annoying than writing a text for 2 hours and suddenly your text is gone because your hamster nibbled on the power cord.
As soon as you check the "Article visible" box, your article is (drum roll...) visible to everyone and appears on the Content Nation platform. The first time an article is made visible, your followers will be notified of your new content. No matter if on the platform here or in Fediverse. Likewise, there are update messages when you change something.
Advanced content
If you want to be a bit more fancier, you can choose more formatting on the top right, e.g. 2- or 3-column text. If you have plugins enabled in the plugin settings, more can appear there.
You can drag and drop them into the main area, either at the beginning or the end of a previous block. Targets are then marked by green stripes.
Here is a two-column example.
It's nice, isn't it?
If a text block is empty, there is a small delete icon in the upper right corner.
with the arrows you can change the order of text blocks.