How to set up gpg email encryption with thunderbird
This is a short step by step description on how to set up gpg encryption with thunderbird.
- Install the Enigmail extension from the official add-on repository, restart if needed
- There should be a new menu entry for Enigmail. Open this and choose "key management"
You probably get an empty list. - In them menu, click on "Generate" and "New Key Pair"
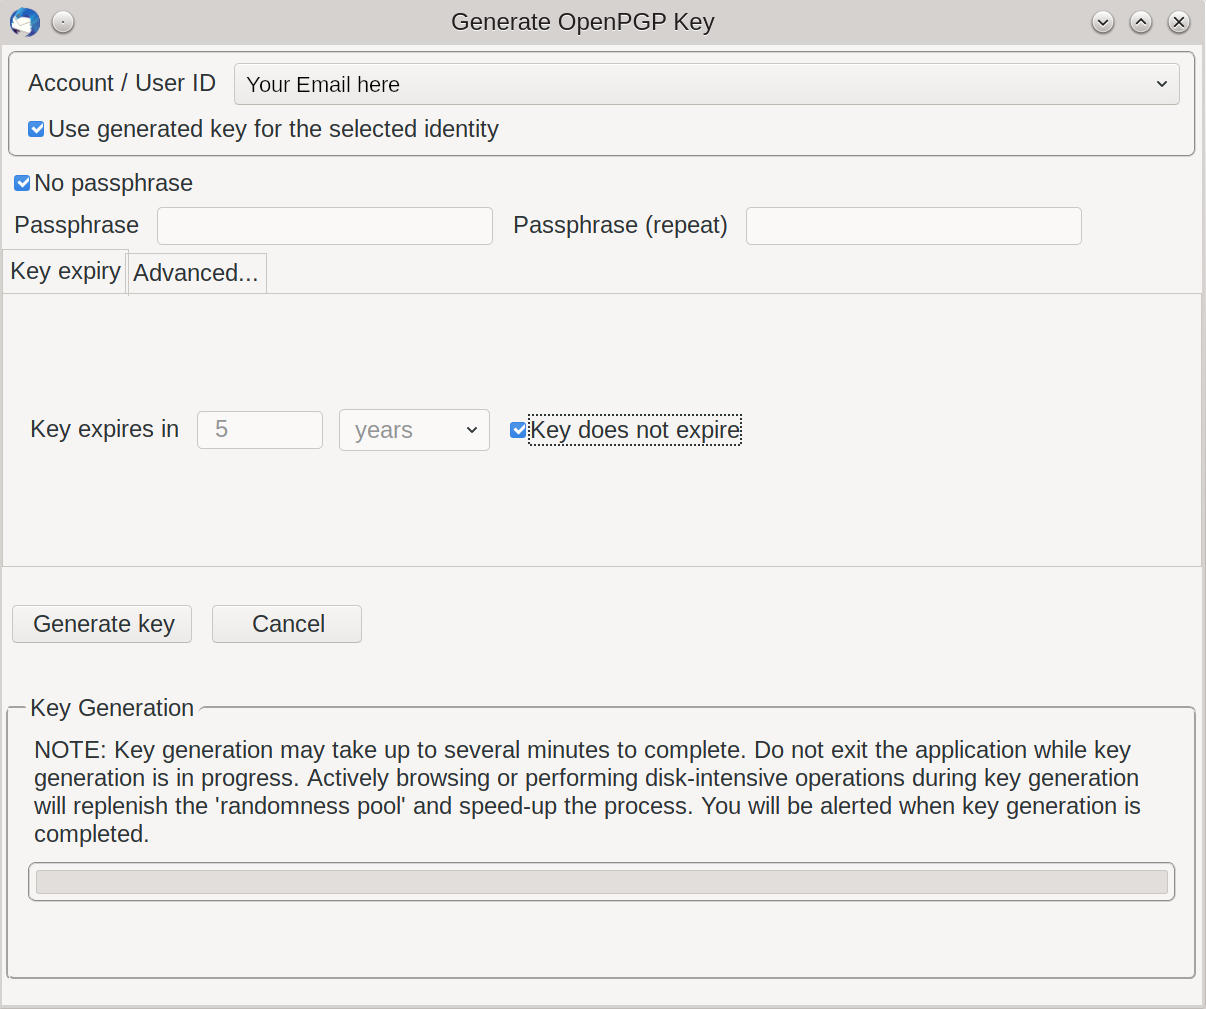
- In the top drop down box select the right Account, if you have multiple
- Optionally specify a password. This will be asked for everytime you start thunderbird. Or enable "No passphrase"
- Optionally specify an expiry date or enable "Key does not expire"
- Click on "Generate key". Now wait until the key is generated. Moving the mouse or creating network traffic helps to speed up the process.
- If asked for, also create a revoking certificate. You never know, if you need one.
- Now your key list should contain the newly created certificate.
- Save a copy of your private key file in a secure place by right clicking on your entry and picking "Export Keys to File" and copy to some safe place.
- The next time you write an email you should see some icons on top:

- By default only encrypted emails are signed and enryption is only available for addresses with a known public key.
As soon as you enter an email address with a known public key, both icons should become green. - A good idea is to automatically attach your public key to your emails. Go to the Enigmail menu, pick "Preferences" and "Signing/Encryption Options". In the dialog enable "Attach my public key to messages".
- Also a good idea is to upload the public key to a public key server. In the main window go to "Enigmail", "Key Management". Right-click on you key and "Upload Public Keys to Keyserver".
0
0
0 Kommentare
Du kannst bei der Diskussion mitmachen, nachdem du dich angemeldet hast.