Introduction to the Path animator tool
This is a description and a how-to to create interesting animation using a custom tool and a animation/3D-Rendering tool like blender.
Let's start with a demonstration
(Full screen view recommended)
The tool itself can be found at https://git.contentnation.net/grumpydevelop/pathanimator. But don't rush there yet, read on first.
The tool itself does not create the animation, it creates an image that can be transformed to an animation in tools like Blender. Exact details and how-tos in a separate article.
The tool itself is build as a framework where multiple algorithms can be used, but at the time of the release, only one algorithm is build.
To use the image, you need a linux computer (no support for windows or mac yet, but should be easy portable), a c++ compiler toolchain with cmake and the imageio library. There are no prebuild binaries.
To compile, use the usual procedure, check out the git repo, go into the c++ direction, create a build directory (or don't ;) ) and run cmake from there. This should create a pathanimator binary.
Now there is a browser based version made in JavaScript. Details on the second article in this series.
Next, you'll need a source image (rgb, no alpha) to trace the path.
Something like this:
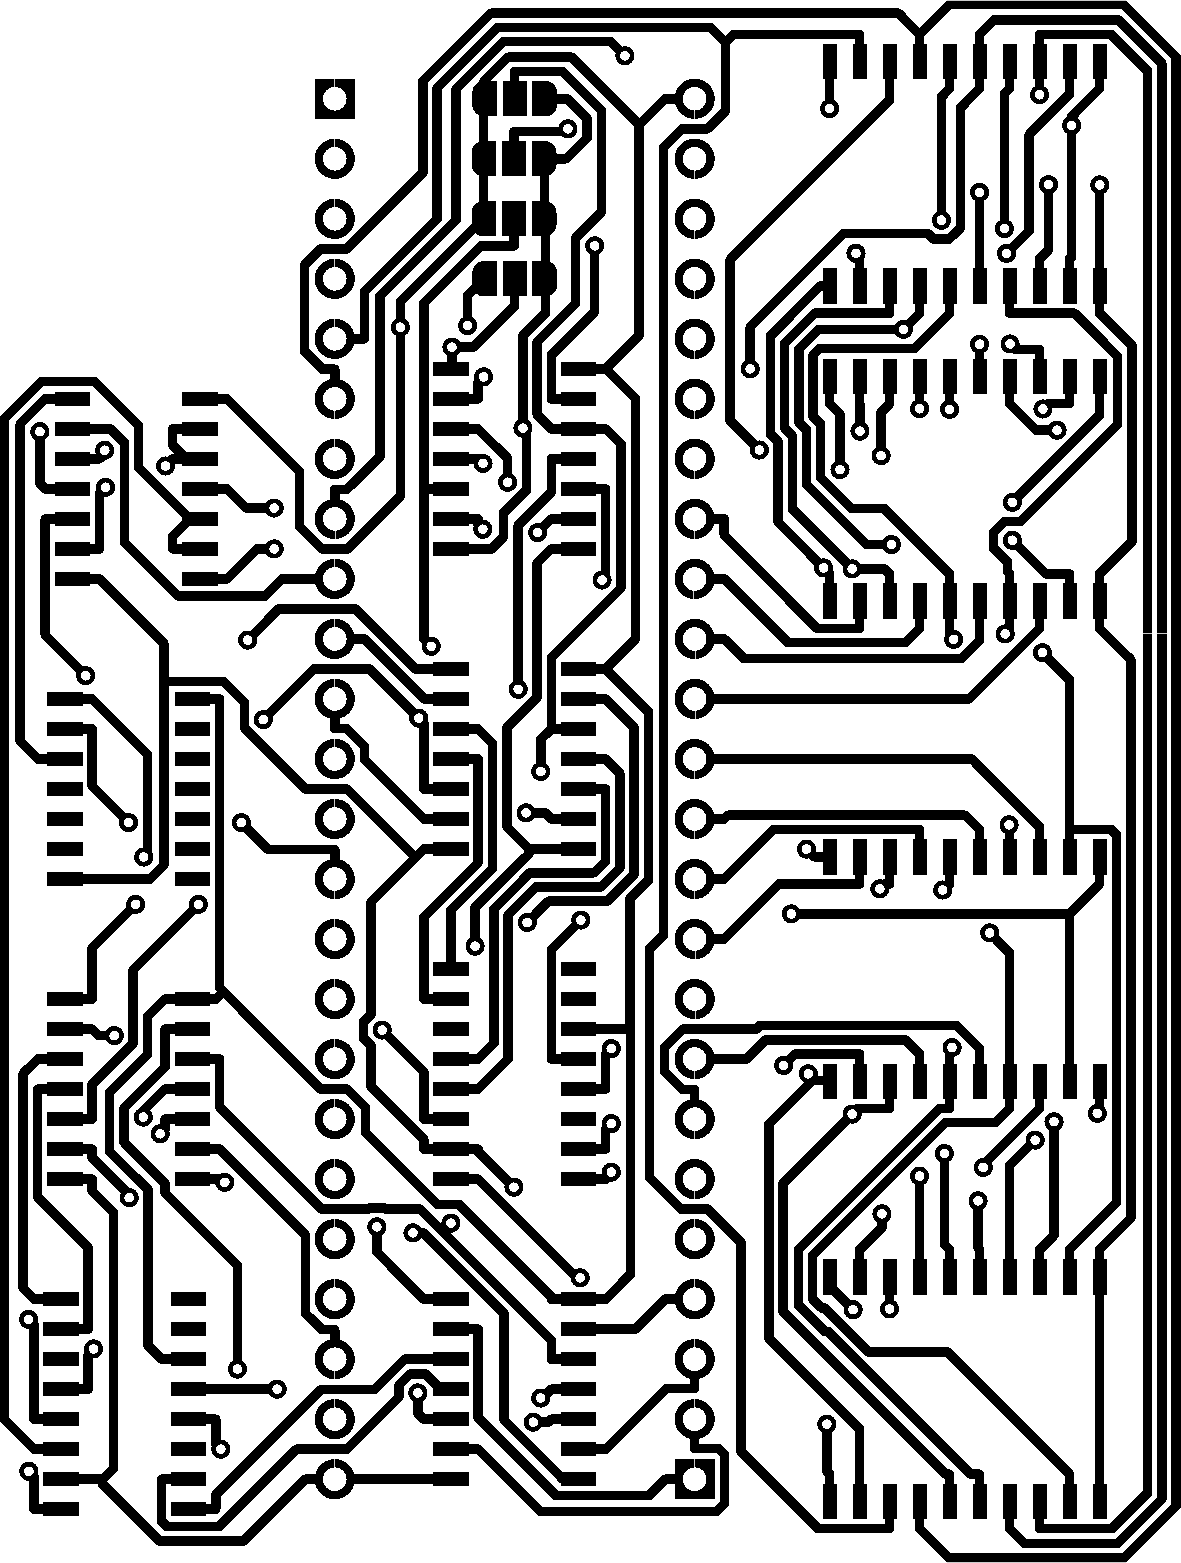
The brighter the pixel in the image, the easier to travel along the path. Notice on the full-size image, there are sneaky gray paths to the circles in the middle. these come in handy in the distance path algorithm.
To convert the image, run
./pathanimator <input file> <output file> <algorithm> <algorithm parameters>Currenty there is only the Distance Path algorithm available, which if described below.
But to give you a preview calling
./pathanimator board.png board_trace.png distancepath 1 100 204 3000000 300 400results in an image like this (only red channel is shown)
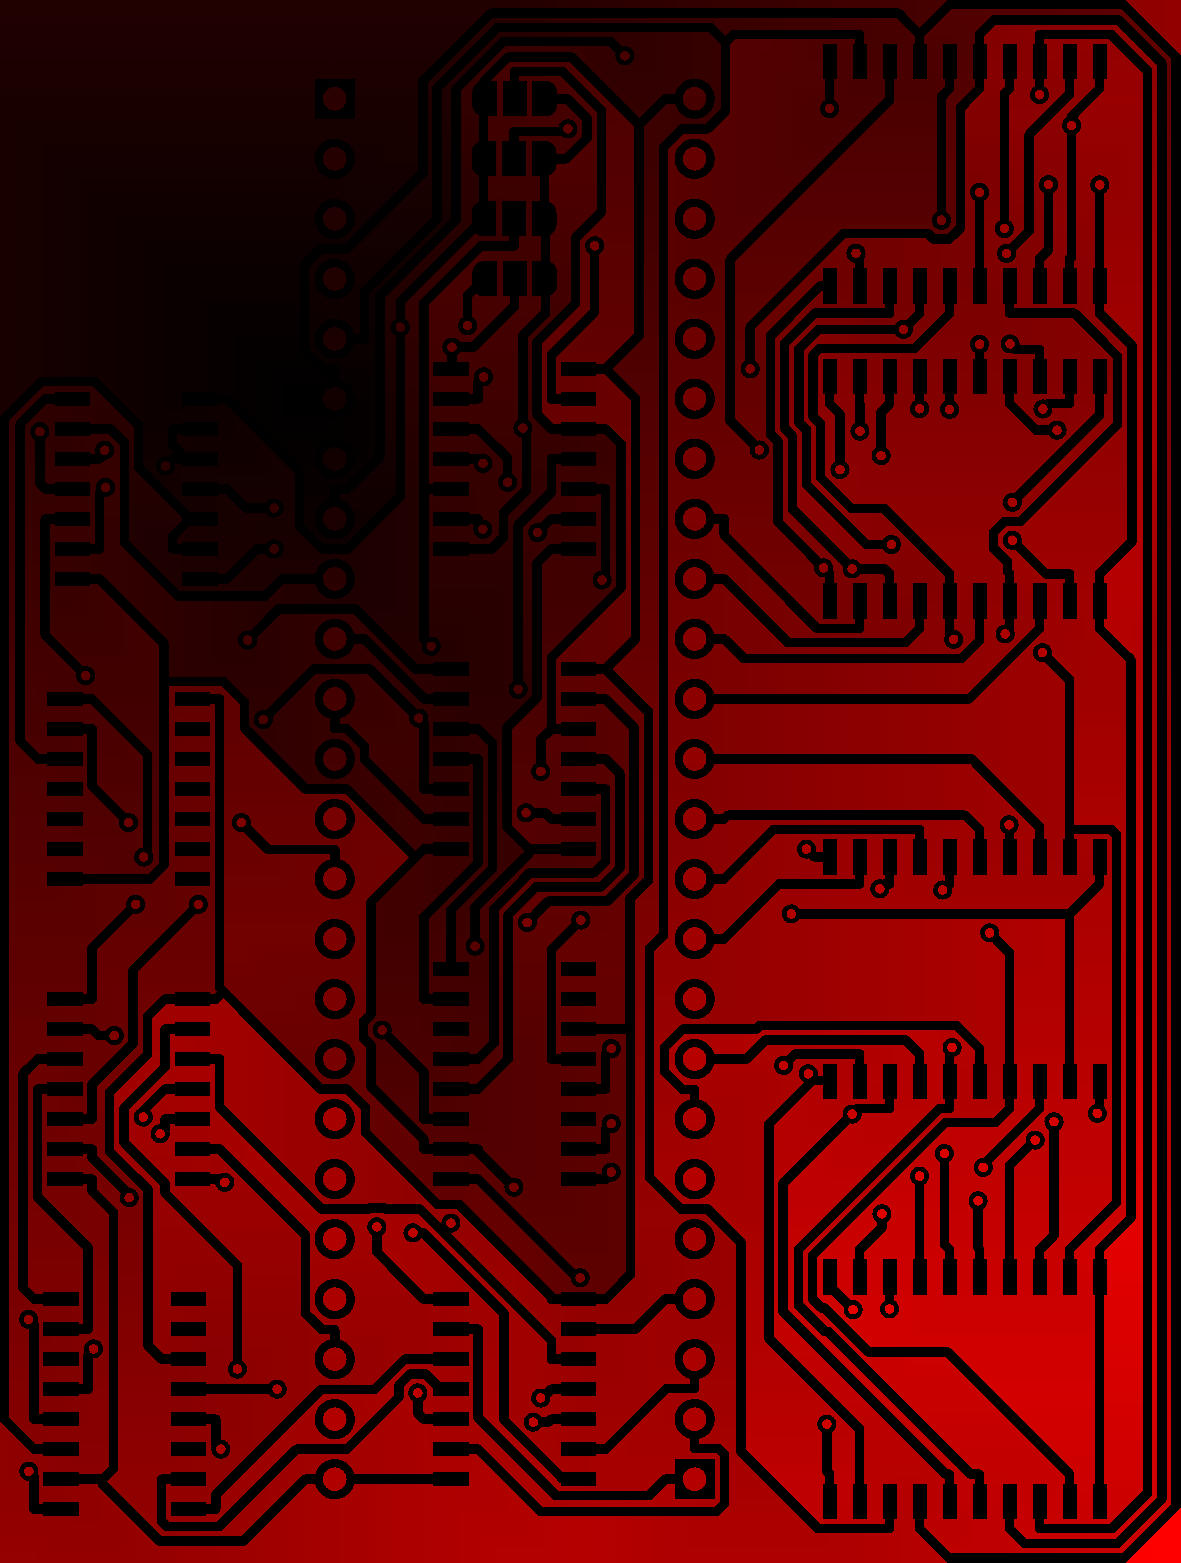
This is the distance from the start point at 300,400 (the last 2 parameters) with a path-able weight of 1 (first parameter) and a block weight of 100, a maximum distance value of 300000 (not reached).
The brighter the pixel, the farther away it is.
Using this as a texture and a bit of magic results in the animation in the beginning.
The Distance Path algorithm
This algorithm uses a simple distance calculation based from one or more start points.
Arguments are path-able weight, blocked weight, visible path threshold, max distance, pairs of x,y coordinates to where to start from.
- Initialization
- The start points are added to the "to process" queue.
- The distance values on all pixels are set to max distance on start.
- Main loop
- Each point in the "to process" queue is taken and it's value (distance).
- Each surrounding pixel takes the last distance (the center) and adds the distance given by the parameters weight block and weight path.
- The input image selects the weight from the two parameters, a 0 (black) pixel takes 100% of the block value, a (255) white pixel is 100% path weight.
- If this distance is smaller than the previous pixel that was calculated, replace it and add the pixel to the next list of pixel to be processed.
- After the iteration is done, clear the process queue and swap with the next queue and repeat until the next queue is empty or the hard limit of 10.000 iterations is met.
- Post-processing
- After the raw distances are calculated, the actual max distance is found.
- The raw map (floating points) is mapped down to a 16 bit image and the distance is saved in the red channel,
- the iteration where the pixel was set is in the green channel
- the blue channel is a mask if the pixel was seen as a path (65535) or as a block (0).
- The threshold value sets the point where a path becomes a block (values are set to 0).
- Setting the threshold allows some cheating. You can add an path between areas with a gray value, the algorithm uses it to calculate distance and as a path to other ares, but shows it as a block in the blue channel.
In a follow up article, I'll explain the setup in Blender to make it usable.